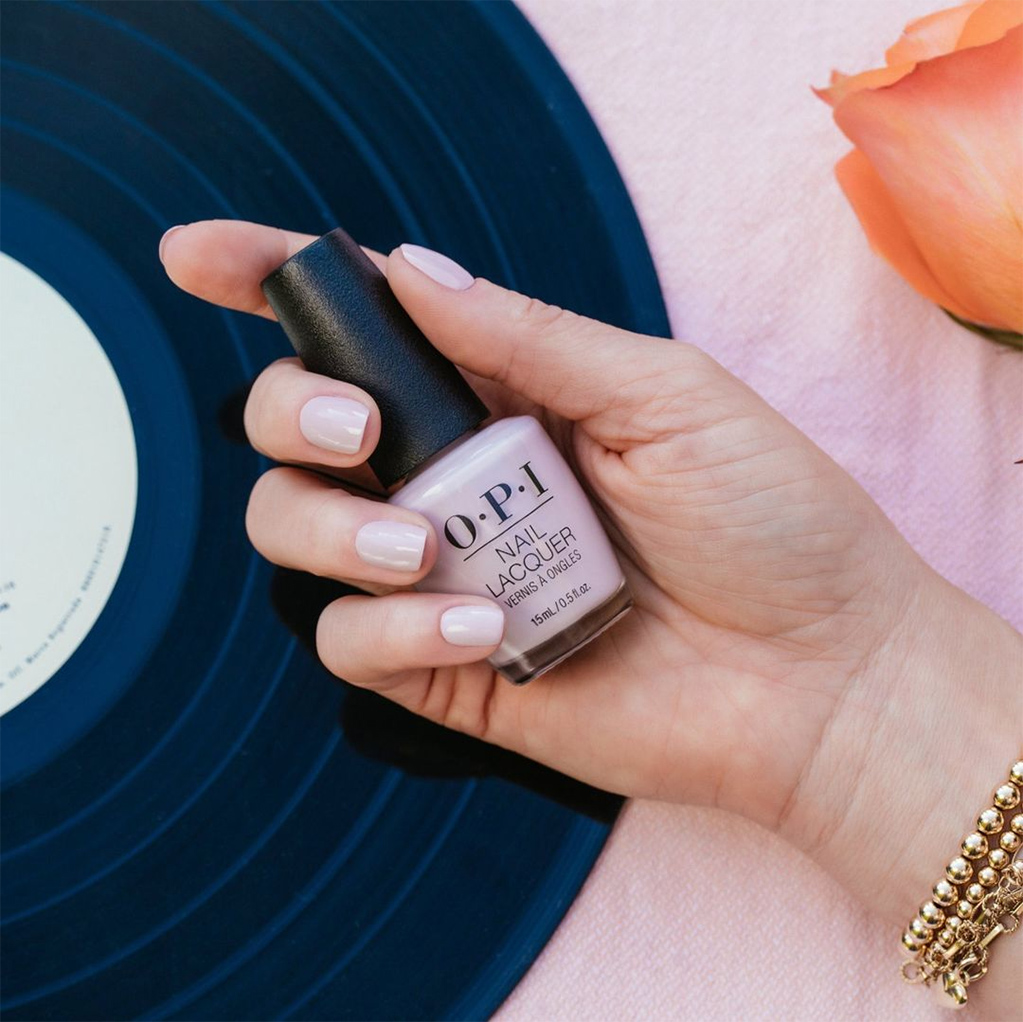
Every woman knows that acrylic nail polish is the strongest of all nail manicures. However, acrylic polish does not give out a natural appearance to your nails. They always look made up and artificial. Secondly, applying acrylic nail polish on your nails entails that you inhale the poisonous fumes. People allergic to such odors can find it nauseating. The best alternative to acrylic paint is the gel manicure. You get the lasting power of acrylic along with its natural appearance. Thus, gel polish has become popular. Today, you have a range of gel polish brands like OPI gel, etc., on the market. Let us now learn how to apply gel nail polish and remove them in 11 simple steps.

We shall divide the 11 steps into three categories to make them simple to understand.
Category 1 – Prepping your nails for the manicure
Filing and shaping your nails is crucial for any nail manicure. Your OPI gel color kit comes with nail files and buffs. You can use a sterilized nail file and shape your nails without any sharp edges. It prevents the polish layer from lifting. Shaping your nails is crucial because it accentuates the overall beauty quotient. You can create whatever shape you like. This step is crucial because you cannot shape your nails after the manicure.
The cuticles can come in the way of a beautiful manicure. You can use a cuticle pusher to push the cuticles back into their grooves. At the same time, you should ensure that there is no skin debris sticking to the nail. Use a cotton dipped in acetone solution or alcohol can eliminate the debris and oils to help prepare your nails for the gel manicure.
Your gel manicure process starts with the application of the basecoat. It is better to have as thin a basecoat layer as possible because it allows you to apply multiple OPI gel coats subsequently. A thick coat can restrict the gel layer and affect the overall manicure quality.
Category 2 – Applying the color
Wait for the basecoat to dry. You can then proceed with your first layer of gel polish. It is also known as the base layer. Ensure to dry it thoroughly before you apply another thin layer of gel polish over it. You should ensure that this layer covers your entire nail from the tip to the base. It will prevent the gel polish from curling back off your nail. The next step is to cure the gel nails under a UV lamp for two to three minutes, depending on the gel layer’s thickness.
The following procedure is to apply the top gel layer. The procedure for applying it is the same. You should ensure to apply this layer in thin coats in a single direction, preferable from the base to the edges. It ensures a perfect job. On applying this top layer, you need to cure it under the UV lamp again for three minutes, depending on the color used and the thickness of the coat.
The final step in the gel application process is to remove the tacky layer from the nails. On completing the curing part, your nails could appear a bit tacky. You can dab a cotton cloth/ball dipped in isopropyl alcohol over your nail and press slightly. You can wipe out the tacky layer gently. Your gel manicure is now ready to last. You can then proceed to apply cuticle oil around the nail base to nourish the cuticles.
Category 3 – Removal of gel nails
After two to three weeks, your nail polish layer would require removal. Then, you can pick up your nail file from the OPI gel polish kit and use it to file the nail polish layer to remove the shine. Once you remove the shine, you will have a thin gel layer left on the nail.
Cotton balls dipped in acetone solution are the perfect remedy to remove gel polish. You can proceed to place the cotton balls over your nails. Wrapping an aluminum foil over the cotton ball can help secure them in place.
One should do this procedure one hand at a time for the sake of convenience. Allow the wrap to sit over the nail for about 20 minutes.
Remove the aluminum wraps and cotton balls to check whether the gel paint has dissolved. Then, you can use a cuticle stick to gently push out the gel layer from the nail. Repeat the procedure on the other hand, to remove gel polish from all your nails.
Finally, you should massage your nails with cuticle oil to rehydrate because acetone can dry up the nail surface and the skin.
Conclusion
This simple 11-step procedure can help you apply gel nails and remove them, as well. You can practice these steps and master the technique so that you can have your gel manicure at home rather than visiting the nail salon every time.